Sunday 25 May 2014

SOD Stationers Desk Large Tag May 2014 Facebook Challenge

I saw a post on Facebook about making something using a dressform (Tim Holtz die I believe) and if you didn't have the right die anything would be really ok as an alternative.

I'd made this tag which actually started off as a bookmark, magetized and everything, then it morphed into something else as these things always end up doing (everyone can relate right? :) )


  • 5 double sided papers from Prima's Stationer's Desk Collection
  • 5 double sided papers from Prima's Cartographer Collection
  • Prima: Stationer's Desk Collection - Pencil Flowers
  • Prims :Everyday Vintage Paintables 
  • Prima: Cartographer - Type Keys Clips
  • Prima: Ingvild Bolme - Mannequins
  • Ranger: Liquid Pearls - Copper
  • 1 Floral Bronze Metal Embellishment
  • Martha Stewart Circle Edge Punch Cartridge - Flower Arches (my stash)
  • DIY 3 x 4 Chalkboard Sheet (my stash)
  • Prima Stationers Desk - Tag Me - Ticket and Tag Set
  • Small Office Hinge Clip (my stash)
  • Tim Holtz Distress inks  Weathered Wood, Red Brick, Frayed Burlap, Old Paper (my stash)
  • Creative Impressions - Antique Ruler Twill Ribbon   


As you can all see, Melinda really delivered on a kit (I've said this a few times already I know!! LOL) that is so versatile.

I already had this made so I knew I would be able to post it in by the deadline.  I not sure if I like how it turned out.  I used everything except the chalkboard which, can be swapped for something else as the brass flower is actually adhered to an office hinge clip that I had in my stash.

I started off using a size #10 tag I believe and used the Stationer's Desk Red Romance and cut the paper down to size and distressed it by wetting it slightly and crumpling it up over and over and then ripped into the edges and opened it out and glued it to the tag.  Then I inked the edges with the Tim Holtz Distress ink (LOVE LOVE LOVE his genius!!!!) and put the twill ribbon under the cardstock and then inked that with some frayed burlap ink to age it too.

I put the wonderful big flowers bottom left and upper right that came in the kit and only stuck the bottom half and upper right of the flowers to the paper so the Paintables which I coloured with my distress markers Red Brick and Pine Needles a little.  Then I put the coloured image between the flowers and then used the Type Keys Clips and Stationers Desk Tags and Tickets and placed them around the paintables. Then I used the Martha Stewart French Scroll Punch with some of the Red Ink cardstock and applied it between the tag and red cardstock.  Used some Weathered Wood Ink to the edges of the punched out cardstock.  I put the mannequin piece from the kit on the top left and then thought it only looked ok.  Certainly not the best thing I've ever done and left it alone to wait for inspiration.

Later I realised that I needed to make another layer and see what would happen (I'm not a tag making sort of person.  It's a real crap-shoot how it turns out! (& no I've never played craps but I have seen Guys and Dolls loads of times and like the song 'Luck be a Lady Tonight') I love that movie!! :)

I used the Cartographer Faire un Voyage and used the Martha Stewart Flower Arches Cartridge and cut an 8" circle and then inked the edges with Frayed Burlap and Folded half to the front and glued the back.  I put tiny little dots of the Perfect Pearls Copper strategically as accents and then using the packaging from the Tickets and Tags and Used the WRMK Deco corner chomper punch side and then inked the edges and stuck on to the front of the circle.

Then I got the the Brass Flower and glued it to a small Hinge clip and Glued it to the top of the Deco cut piece and finally I got to finish it up using another piece of the resin corset and put that on the lower left and used some more of the tags and type keys to complete it.  After it was all done I used white chalk and scribbled it over the 3x4 chalkboard and then wrote Dress up time!!!  Fun Fun Fun

Hugs for Everyone

Celina

Wednesday 21 May 2014

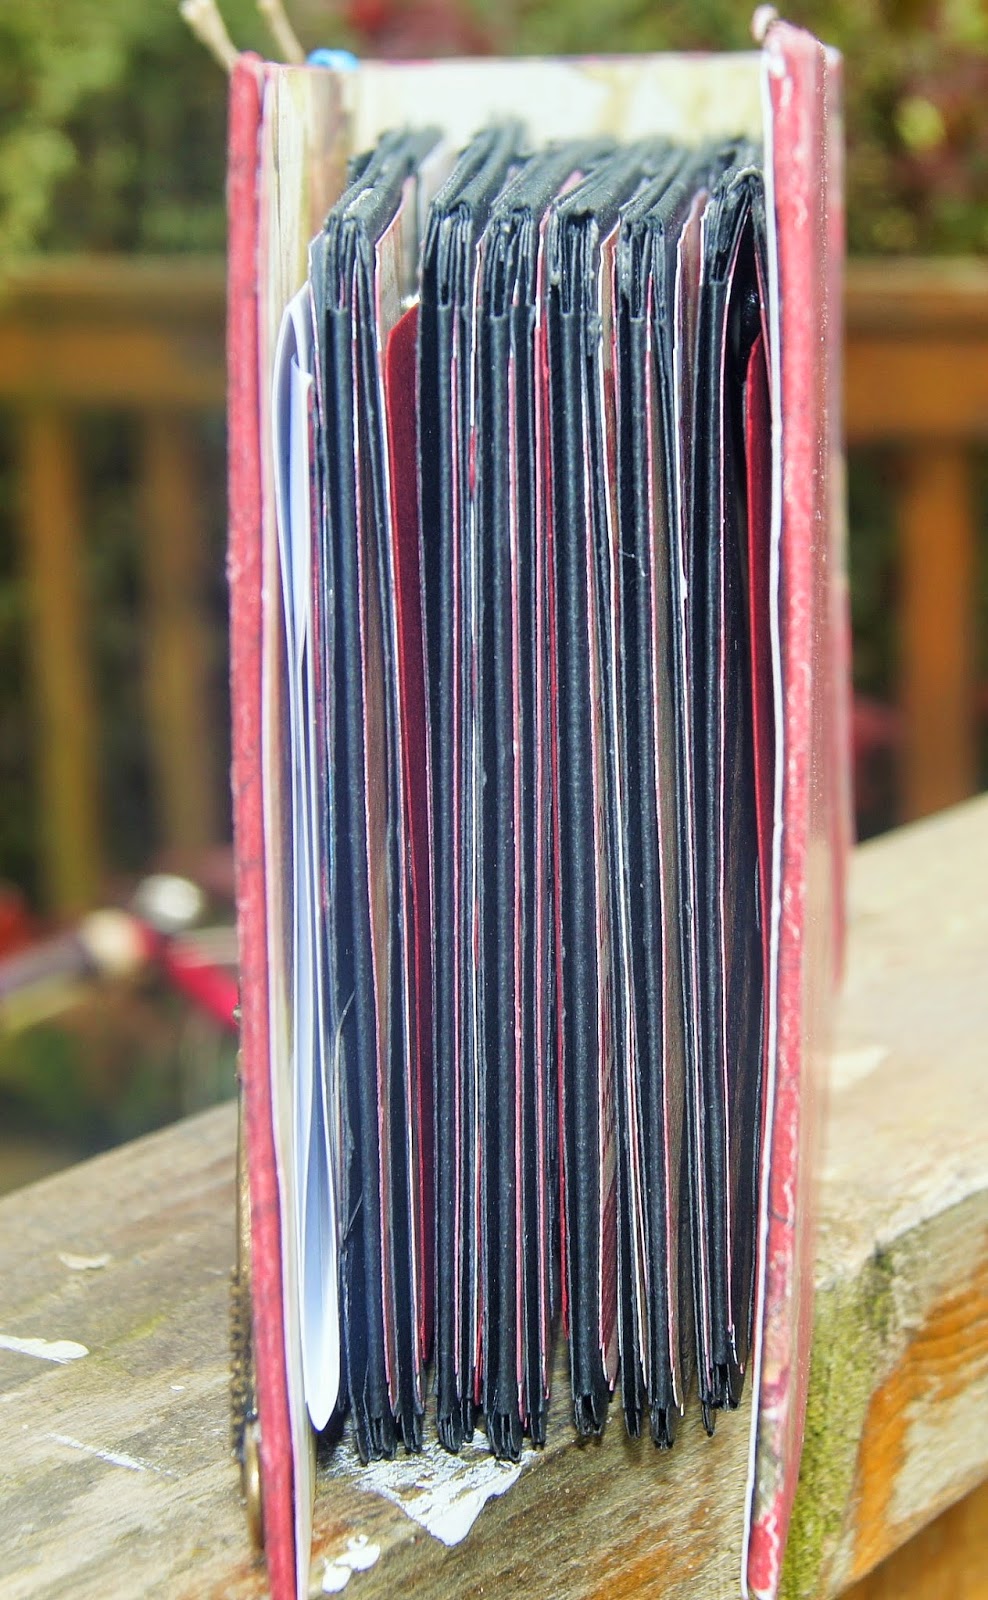
Scraps Of Darkness 'His and Hers' April Kit Kathy Orta Paper Phenomenon Faux Paperbag Album

  • 5 double sided papers from Prima's Stationer's Desk Collection
  • 5 double sided papers from Prima's Cartographer Collection
  • Prima: Stationer's Desk Collection - Pencil Flowers
  • Prims :Everyday Vintage Paintables 
  • Prima: Cartographer - Type Keys Clips
  • Prima: Ingvild Bolme - Mannequins
  • Ranger: Liquid Pearls - Copper
  • 1 Floral Bronze Metal Embellishment
  • Martha Stewart Circle Edge Punch Cartridge - Flower Arches
  • DIY 3 x 4 Chalkboard Sheet
  • Prima Stationers Desk - Tag Me - Ticket and Tag Set
  • Small Office Hinge Clip (own stash)
  • Antique Bike Charm
  • Wrights - Ivory Bead/Sequin Wedding Embroidery Lace
  • Creative Impressions - Antique Ruler Twill Ribbon 
  • Heavy Weight Chipboard Sheets  
  • Tim Holtz Distress Ink Fired Brick, Weathered Wood, Black Soot, Old Paper, Frayed Burlap
  • Martha Stewart Punches
  • Core'dinations Black and Red cardstock
  • Lindy's Stamp Gang Starburst Spray Frozen Jack Frost
As I've said before I have been taking part in Kathy Orta's Digital/Everyday Kit Club and loving every minute of it!!!

This album is actually one of her older ones and I made it this way because I didn't have access to paper lunch bags here in Ireland.  I searched everywhere and finally sourced my own but as I'd already started this and I was under a deadline I finished this one and as it was for someone in her mid thirties and Italian.  When I met her I thought she was cultured, well read, intelligent, elegant and refined.

So I instantly went to this kit collection because I love this palate in papers and embellishments.  They were perfect!!!  Once again let me say that Melinda struck the scrapbook kit ball out of the park!!! Fab!! Fab!! Fab!!

So I can't tell you how I made but Kathy's hidden hinge binding is easy and really clever.  But I used LSG Frozen Jack Frost to dye the lace to the blue/gray that matches the blue/gray in some of the Prima cardstock


Iadded some of my own embellishments strategically so there was no gluing any pictures and move them around as much as she likes.  I actually didn't completely add all the embellishments because I thought she would enjoy doing some of the fun herself.


Let me know what you think.

Hugs

Celina


Thursday 15 May 2014

Scraps of Darkness Radioactive Kit

I know that it has been quite a while since I posted any of my projects because as the saying goes 'life is what happens when you're busy making plans'.


On saying that I have been making lots of things that I have really loved making all because of the fantastic Martina Downes and her coming across Kathy Orta of Paper Phenomenon fame!!!  My creative side of life thanks Martina for letting me know about her however not my wallet!!  I swear I can hear my Paypal account crying along side my hubbie :)


Now as I bought a few tutorials initially, I love the way she writes them and I bought the class video annual subscription to get a feel of how she thinks and works.  The woman is amazing!!  I love how she makes the most detailed and seemingly impossible creations and then breaks it down to little building blocks so anyone can do it.


She has a really infectious laugh and the way she interacts with everyone is funny and she makes it feel like everyone is her best friend.

I've been making up a storm and loving every minute.


Now I made this from the from the Scraps of Darkness Apri Kit of which I always get at least the Main Kit and the Embellishment Add-on.  I love the kits Melinda makes up every month and I also started with her Scraps of Elegance Kits and Add-ons as well as she is inspired in her choices.


But I have to say hands down that this has been the most amazing kit that I have EVER seen in my crafty live ever!!! I love, love, loved everything and once I found out what collections the papers came from I bought 2 of every paper collection.  That is they were American Crafts Amy Tangerine Plus One, LemonLush from Studio Calico, Bo Bunny my Li'l Monster and Printshop from Studio Calico.


I decided to start off with something easy and even though I can't tell you how it's done, I did do my own thing in regards to size of the pages which were 5.5' x 7 and could hold over 100 photos or mats.


I made it for my niece and she was blown away!!


Well I hope you like it and love how fresh and vibrant the papers are.  I'm already working on a new project with these fabulous papers.

Let me know what you think!!

((Hugs))

Celina

Kathy Orta Paper Phenomenon Tutorial
I used American Crafts White Cardstock, Amy Tangerine Plus One Paper Collection
Studio Calico Lemon Lush and Printshop Paper
Bo Bunny Li'l Monsters Paper
Tim Holtz Idea'ology Documented Alpha Parts Framed, Distress Inks, Picked Rasberry, Peacock Feathers, Green Meadow, Squeezed Lemonade, Marmalade.
American Crafts Plus One Collection Paper, Washi Tape, ribbon, magnetic binder clips, thickers phrase, flair buttons.
Prima Flowers, Bloom Chipboard Pieces, Stamp
Silver Chain from my stash to make oramental closer with the binder clips
Martha Stewart Punches
Radioactive Add -on colours
  • Shimmerz - Dazzlerz Paint - Dreamscicle
  • Shimmerz - Dazzlerz Paint - Grape-tastic
  • Shimmerz - Dazzlerz Paint - Lemon Drop
  • Shimmerz - Dazzlerz Paint - Sour Apple